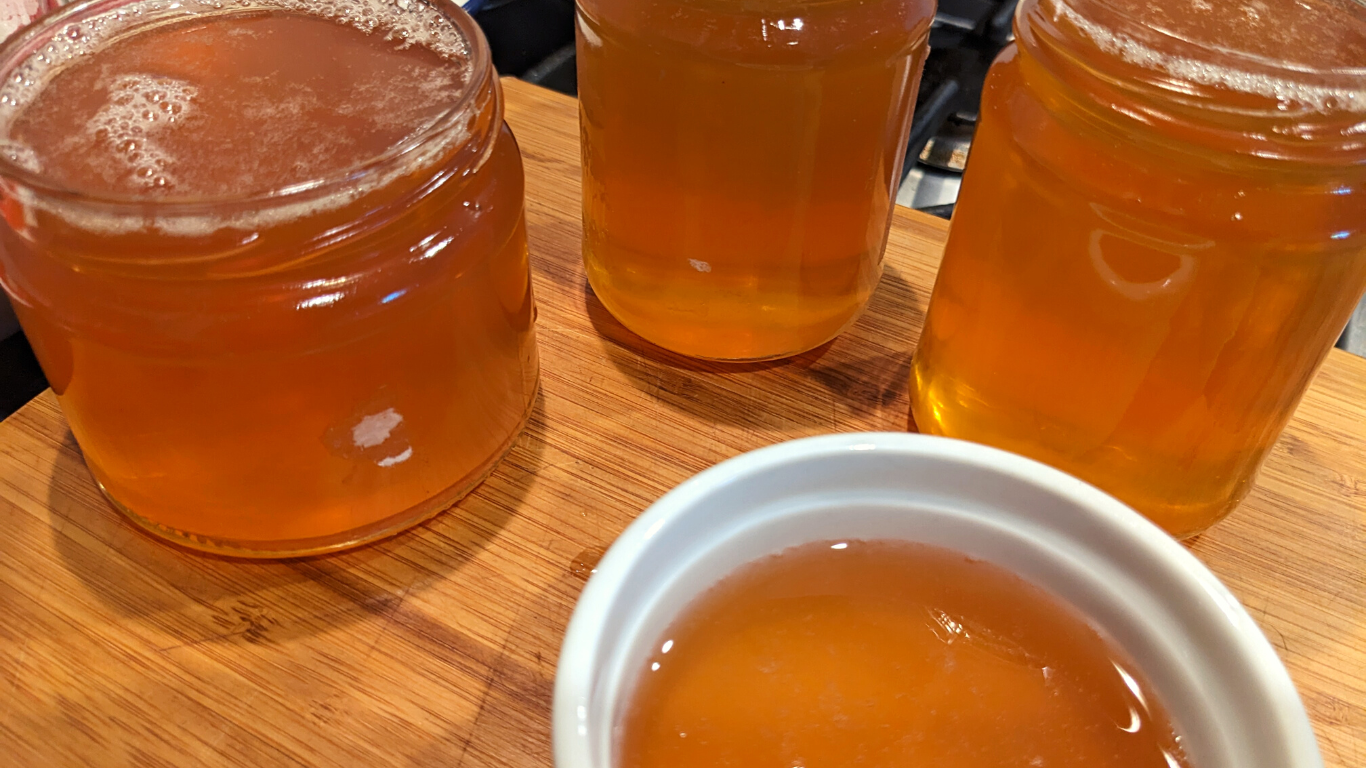
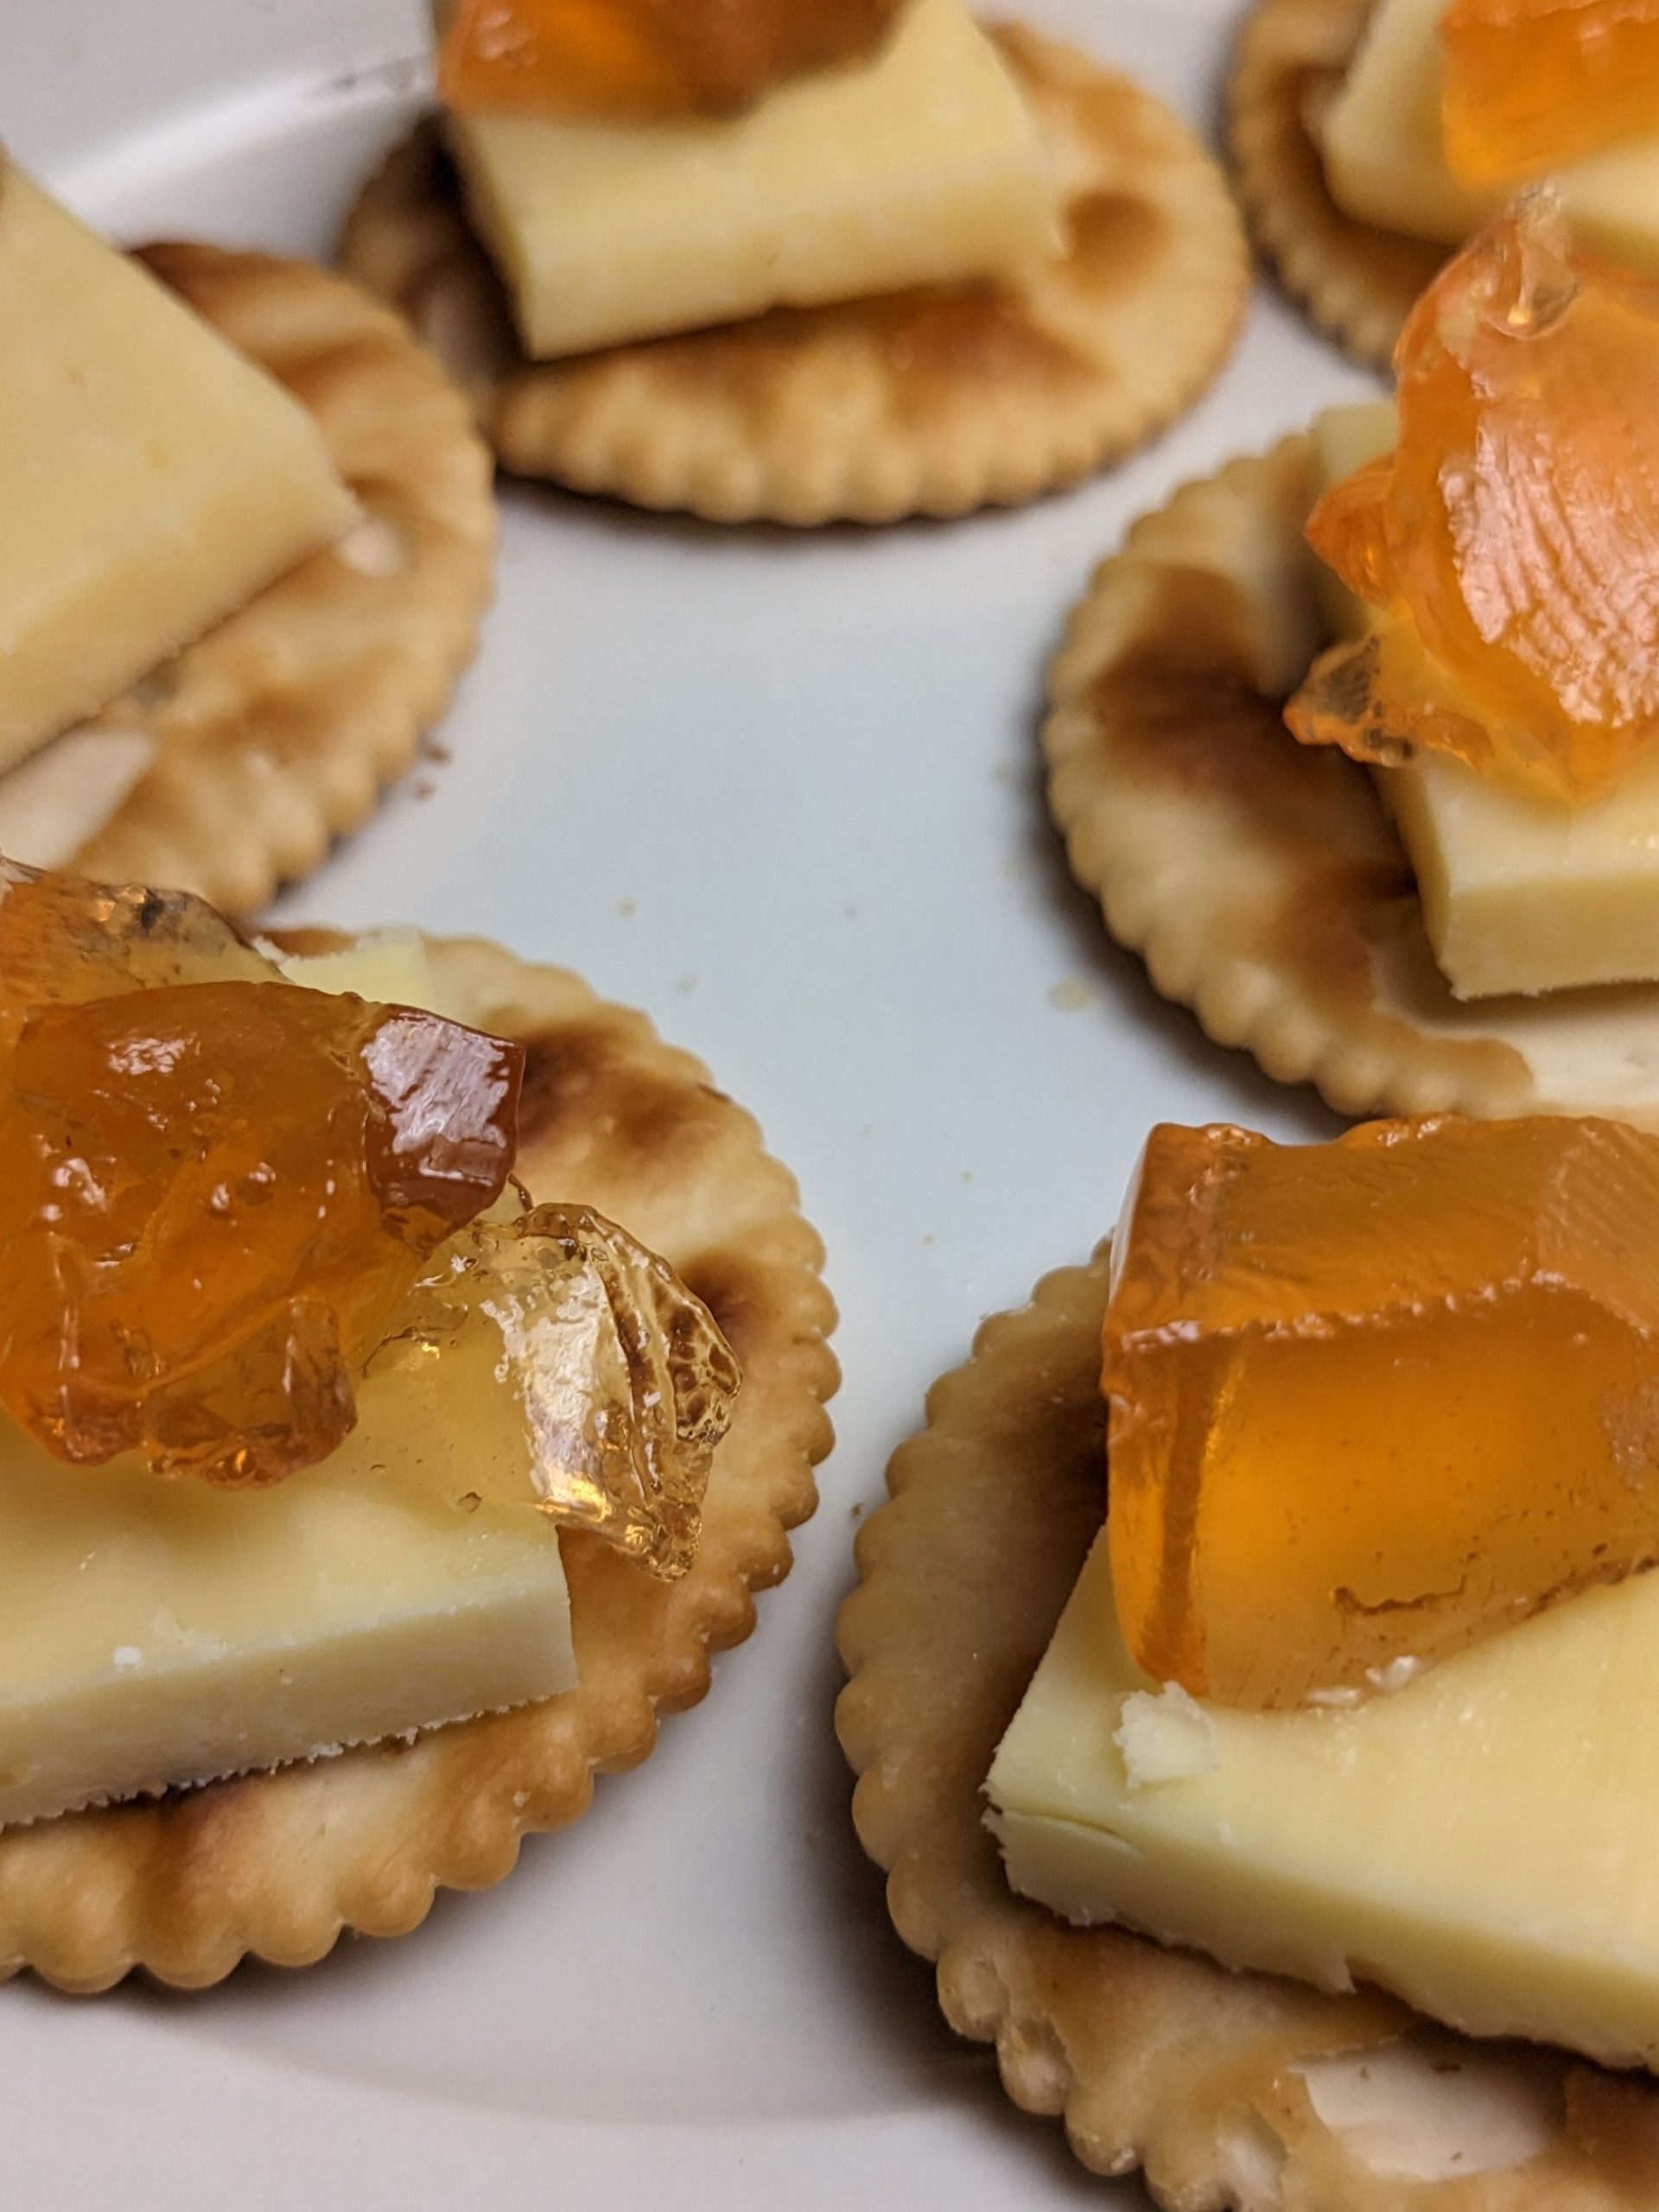
Delicious, lightly fragrant amber Feijoa Jelly – perfect for topping a buttered crumpet or a bit of cheese on a cracker. This is an ideal recipe for learner jam makers, as you don’t need to fuss over peeling or weighing the fruit and getting it to set is straightforward.
I love that this uses a lot of fruit, and as I don’t really like the grainy texture of Feijoas in cakes and biscuits, this provides a brilliant flavour on its own.
I use the recipe from Allyson Gofton; you can find it and even more great ideas for using Feijoa fruits here: https://www.allysongofton.co.nz
My additional notes and steps are to guide you through some of the stages where you might feel things are not going well, but I assure you – the murky liquid that drips away from the bag of stewed fruit will (almost magically) turn into a golden gel.
Equipment/Setup:
You will need…
- Large pot for the second jelly setting stage, the liquid boils up pretty high when it gets going, so ensure you won’t have any overflows.
- Jelly Bag, a fine mesh bag that can be hung up so that the liquid contents separate and drip out slowly. You can make one out of a large piece of muslin, as long as you can tie it up. Alternatives are to use a chux wipe in the base of a colander, in which case sit it on top of a tall stockpot or clean bucket – it needs a bit of height to get the drips going. HINT: the laundry bags for washing your delicates are the ideal fabric for this, just turn it inside out as getting the fruit out of the seams is hard work!
- Somewhere to hang the bag, it needs a bit of height above the collecting bowl. Make sure whatever you rig up is strong enough to hold up to 2kg of weight. e.g. the muslin fabric could be tied around a broom handle, and laid across cupboard doors.
- Thermometer, I either use a BBQ one with a steel cable extending from the probe to the readout or a candy thermometer. While not necessary; it just gives a bit of confidence that you have got it to the right boiling point for setting.
- Clean jars with metal lids (if reusing, save the ones with the button). Wash well, rinse them out and place them on a towel-lined tray in the oven at 100 degrees centigrade before boiling the liquid.
- A ladle and metal funnel to fill the jars – makes it easier to get the dangerously hot syrup into the dangerously hot jars!
Ingredients:
Ripe Feijoas, collect these from the ground. When you slice and look inside the centre part of the fruit will be translucent/gel like. Aim to get roughly a large colander full (the size you would use to drain a packet of pasta). Rinse the dirt and dust off before starting. As you cut them up, discard any with mushy brown parts.
Sugar, white granulated. Allow 3/4 Cup for each cup of liquid collected.
Method:
Stew the Feijoa Fruit
- Cut fruit into halves or quarters for the big ones. Slice off the end with the flower stem. Chuck into a large saucepan with a cup of water to prevent browning, and add a bit more water as you go so that the fruit is barely covered at the end.
-
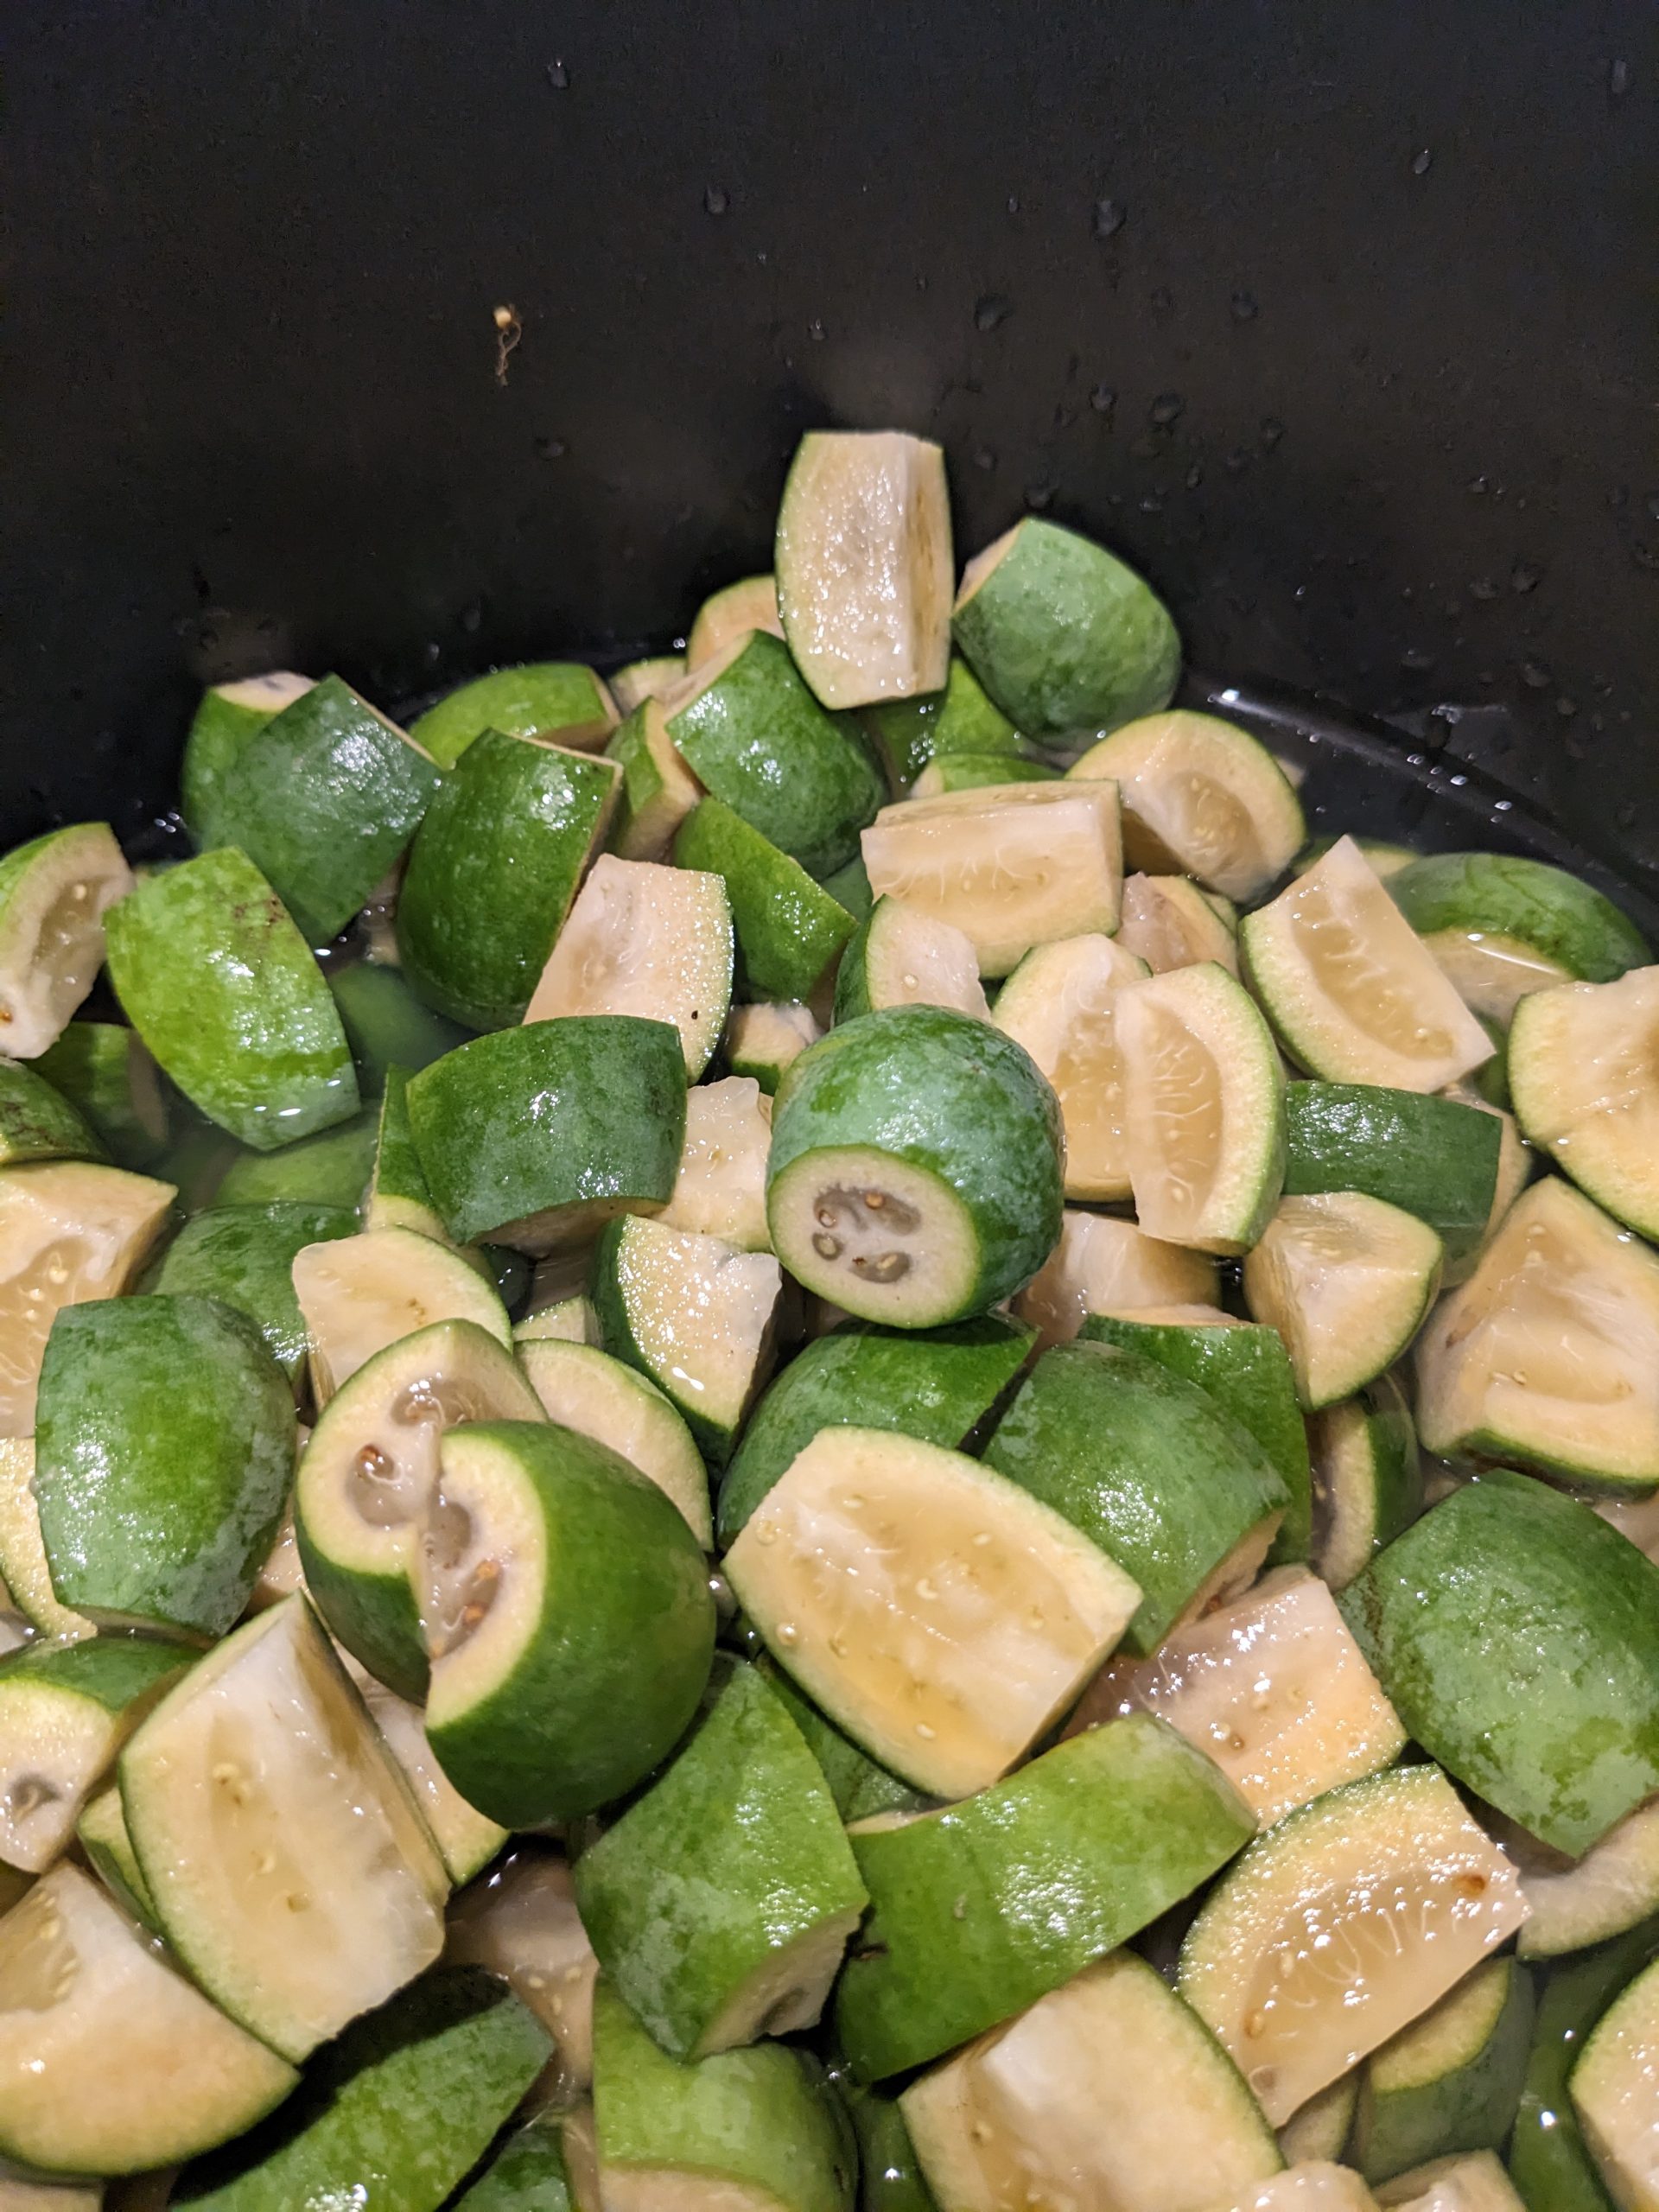
- Put onto medium heat, and allow to come to a simmer. IMPORTANT: Don’t stir or poke the fruit around; just let it simmer away. Leave to simmer for 45 minutes, or longer – it needs to look mushy and pulpy. The less you mess around with it, the clearer your Feijoa Jelly will be at the end.
Collect the Feijoa liquid
- Get your “drip zone” setup ready while the fruit is simmering, you need a jelly bag or other fine mesh that the cooked fruit can be tipped into, and a clean container below to collect the liquid. My setup involves golf clubs, books, and a pyrex jug! Whatever works!
-
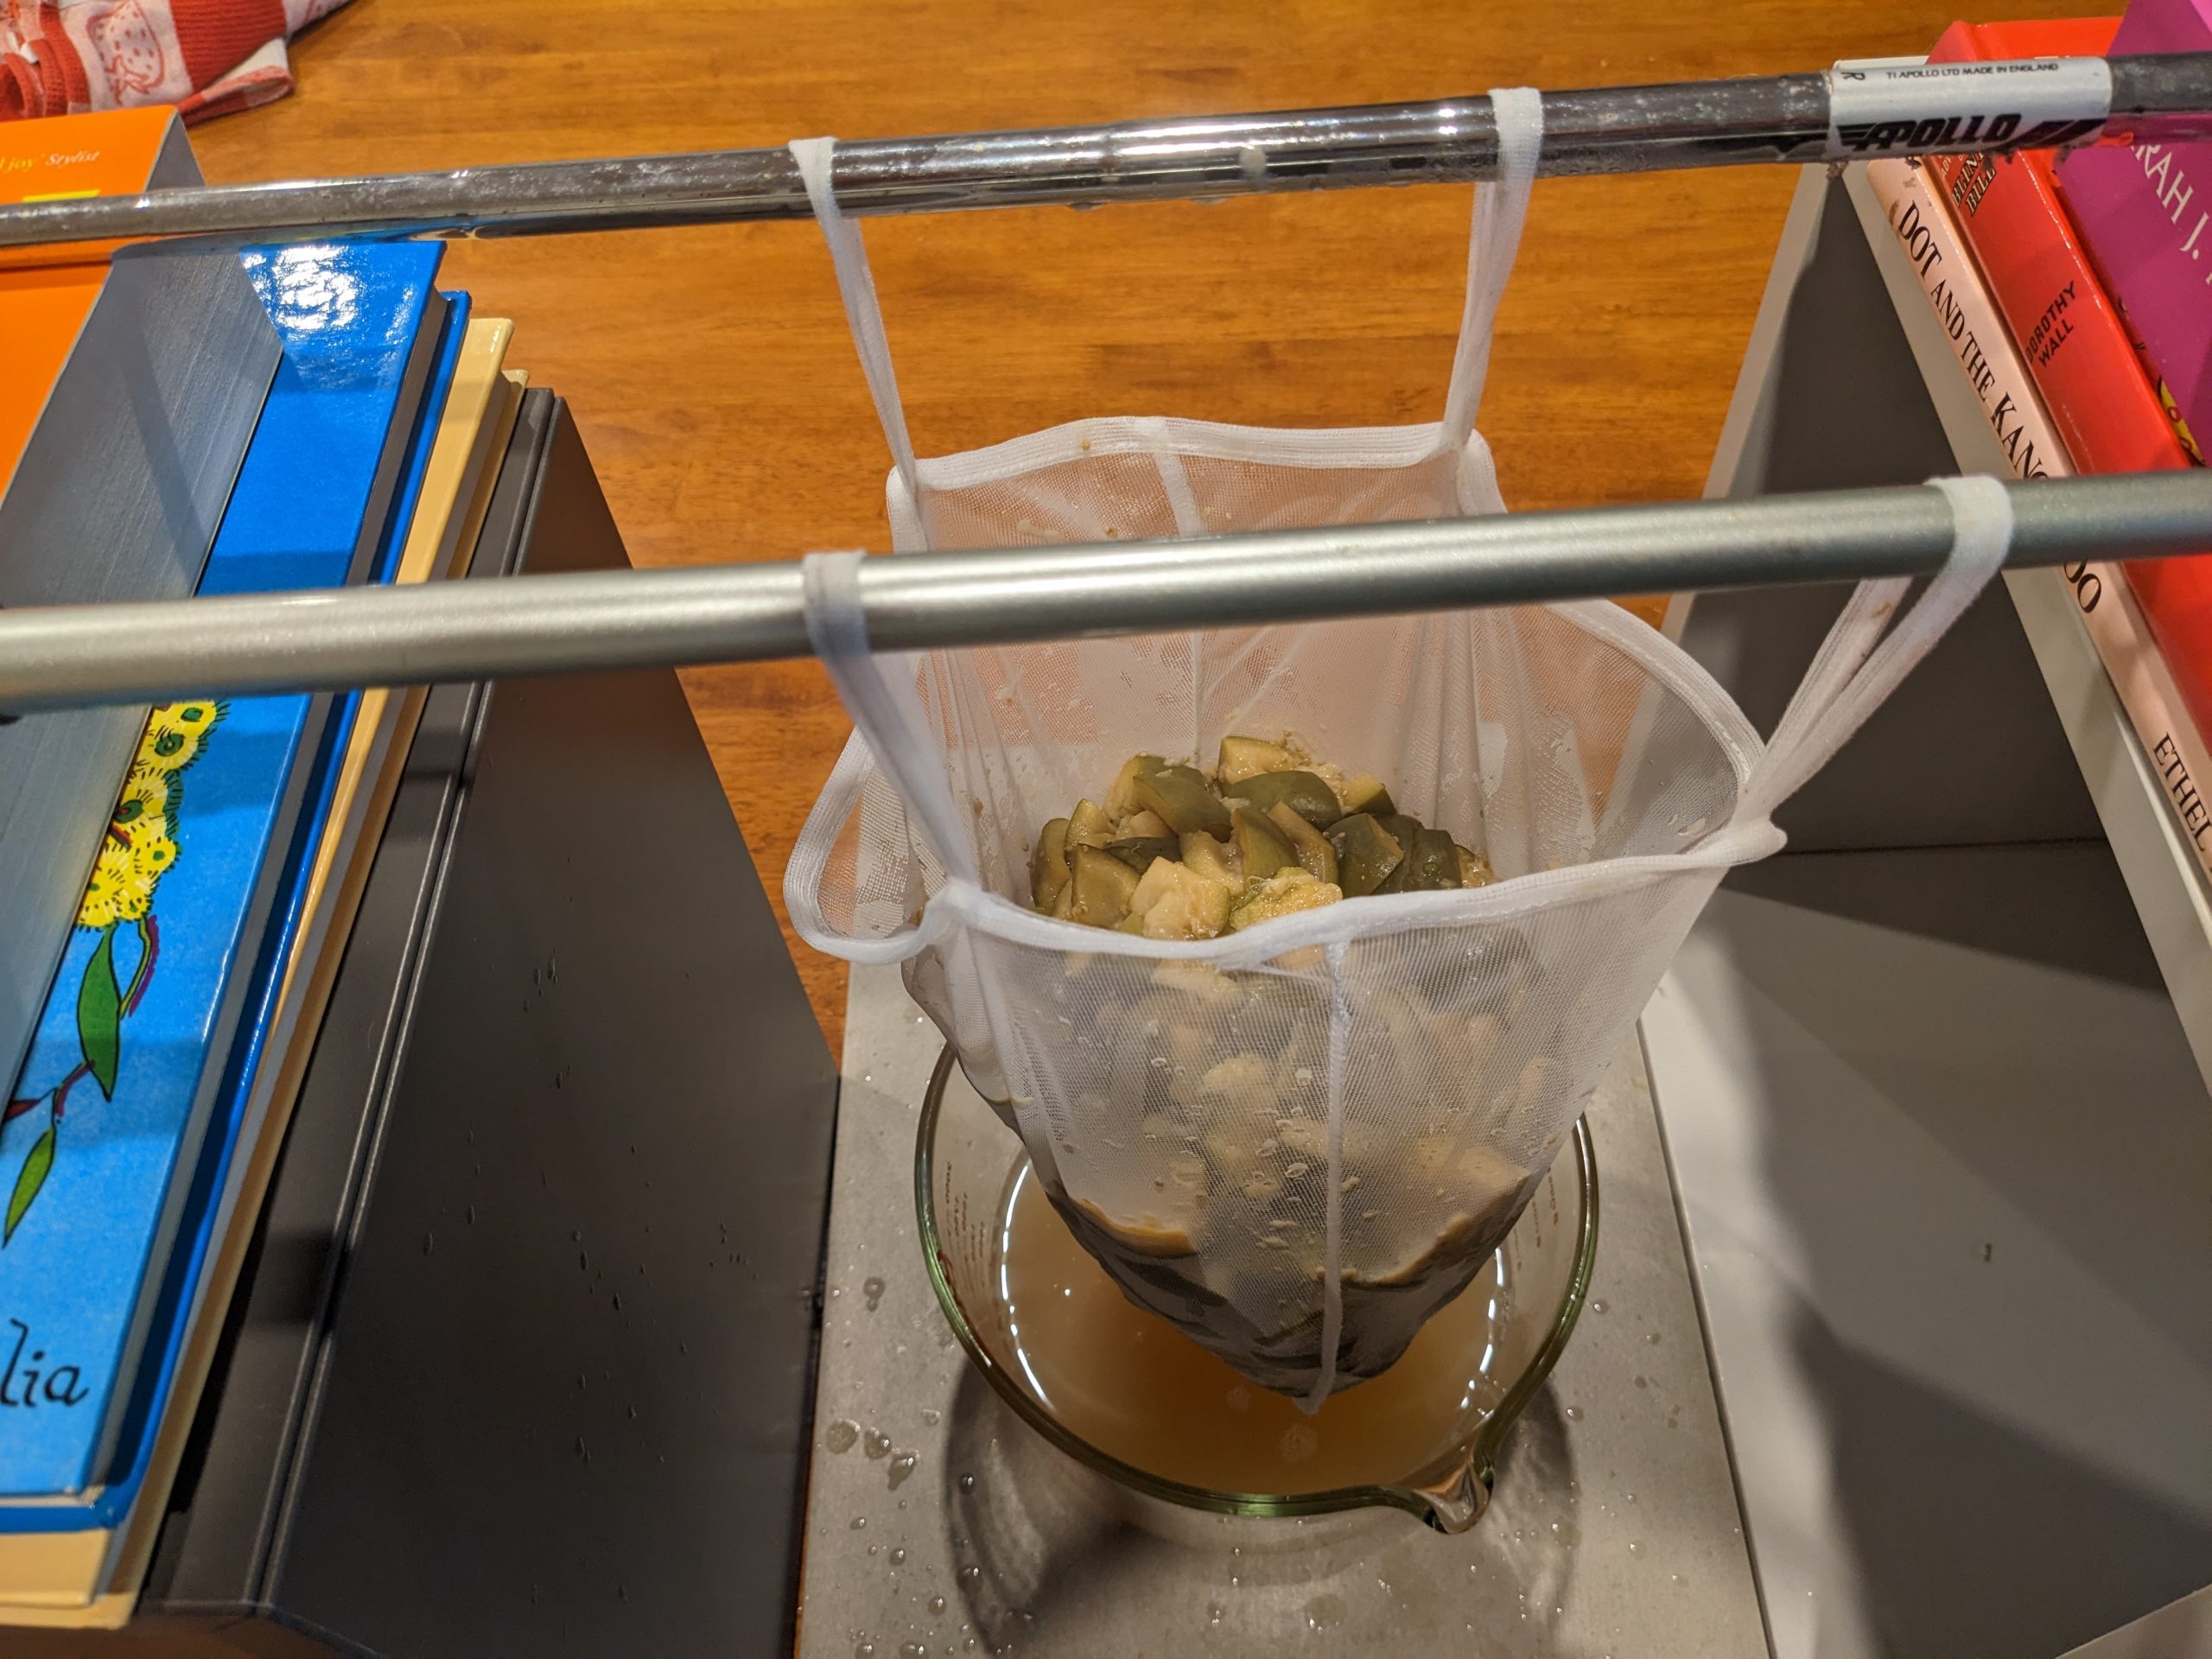
- Transfer the cooked fruit into your jelly bag, trying not to disturb the fruit too much, as this creates a less cloudy, clear jelly at the end. Make sure you have a large bowl or jug etc, underneath first!!
- Allow the fruit to drip for a few hours; slower is better. 4 hours is fine. It is very very tempting, but don’t press or squeeze the cooked fruit. Again, this will help to get a clear Feijoa Jelly at the end.
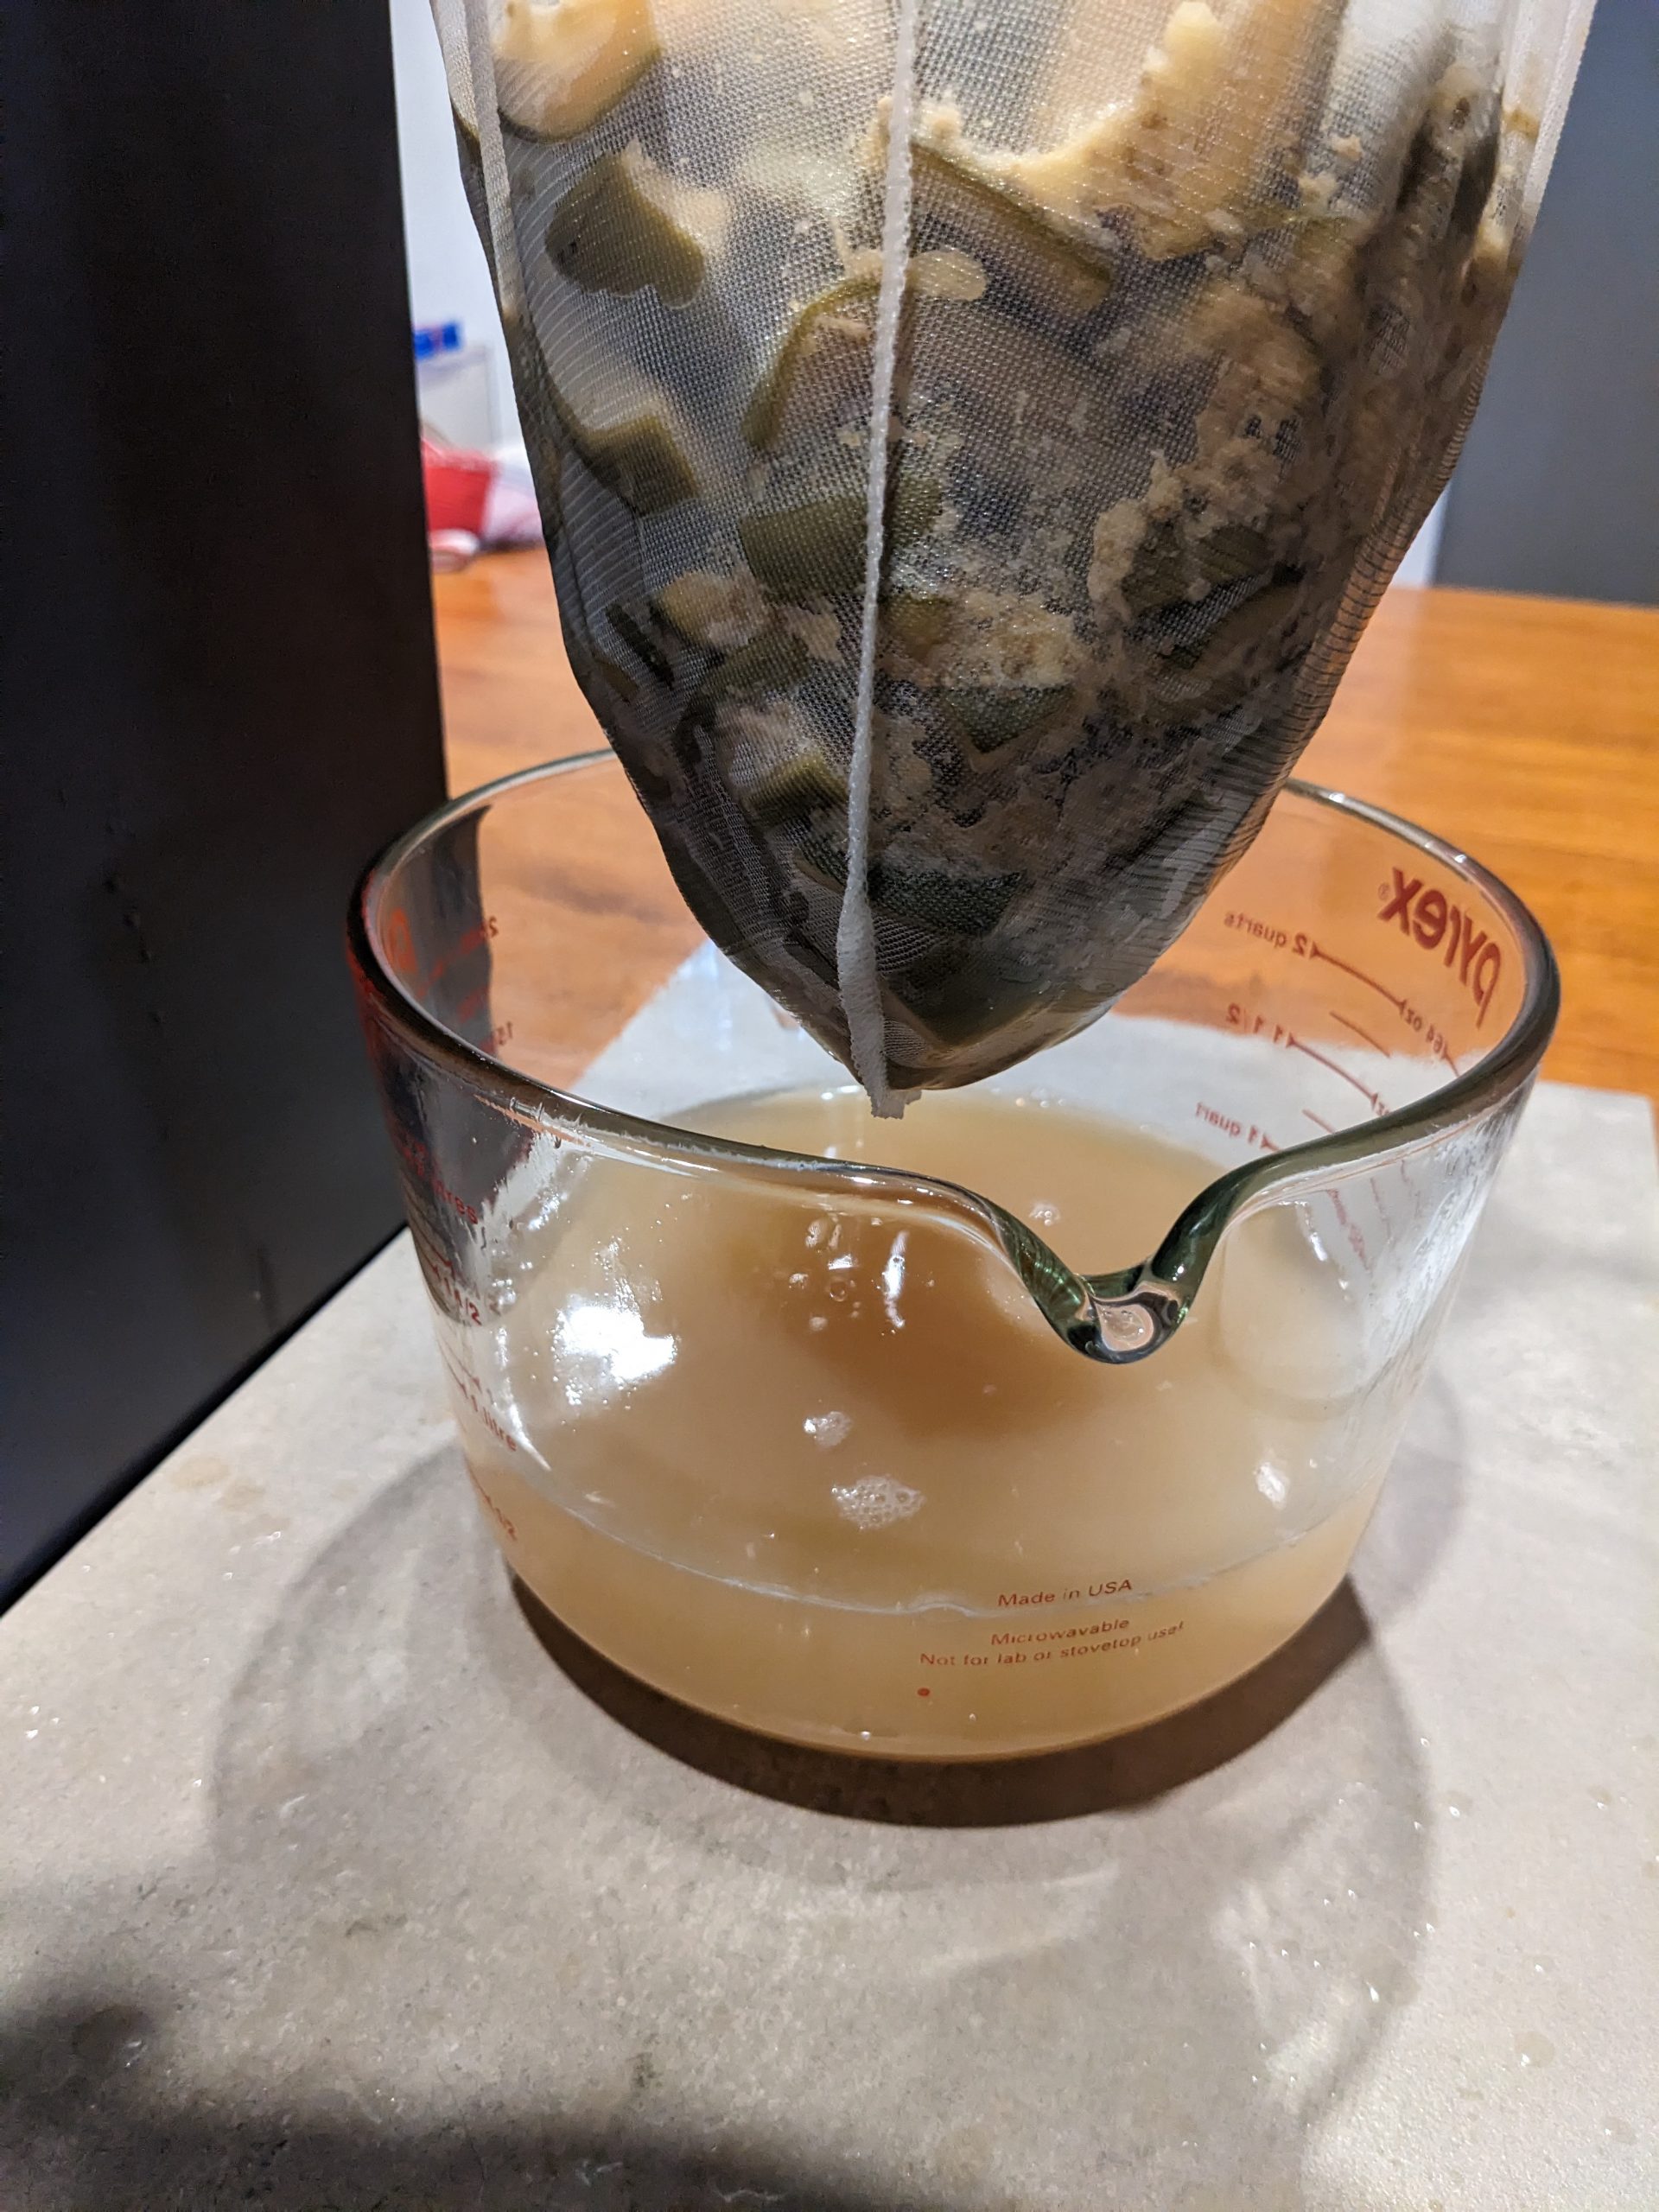
- Measure how much liquid you collected; this is why I use the large measuring jug to collect the liquid – one less step!
Boil the liquid to make Feijoa Jelly
- Transfer the collected liquid to your large jam-making pot (remember, it will boil up HIGH) and add 3/4 cup of sugar for each 1 cup of liquid. You may well doubt it is working at this stage as it looks pretty gross, but keep going! Yes it is VERY cloudy, but it transforms with heat and sugar.
-
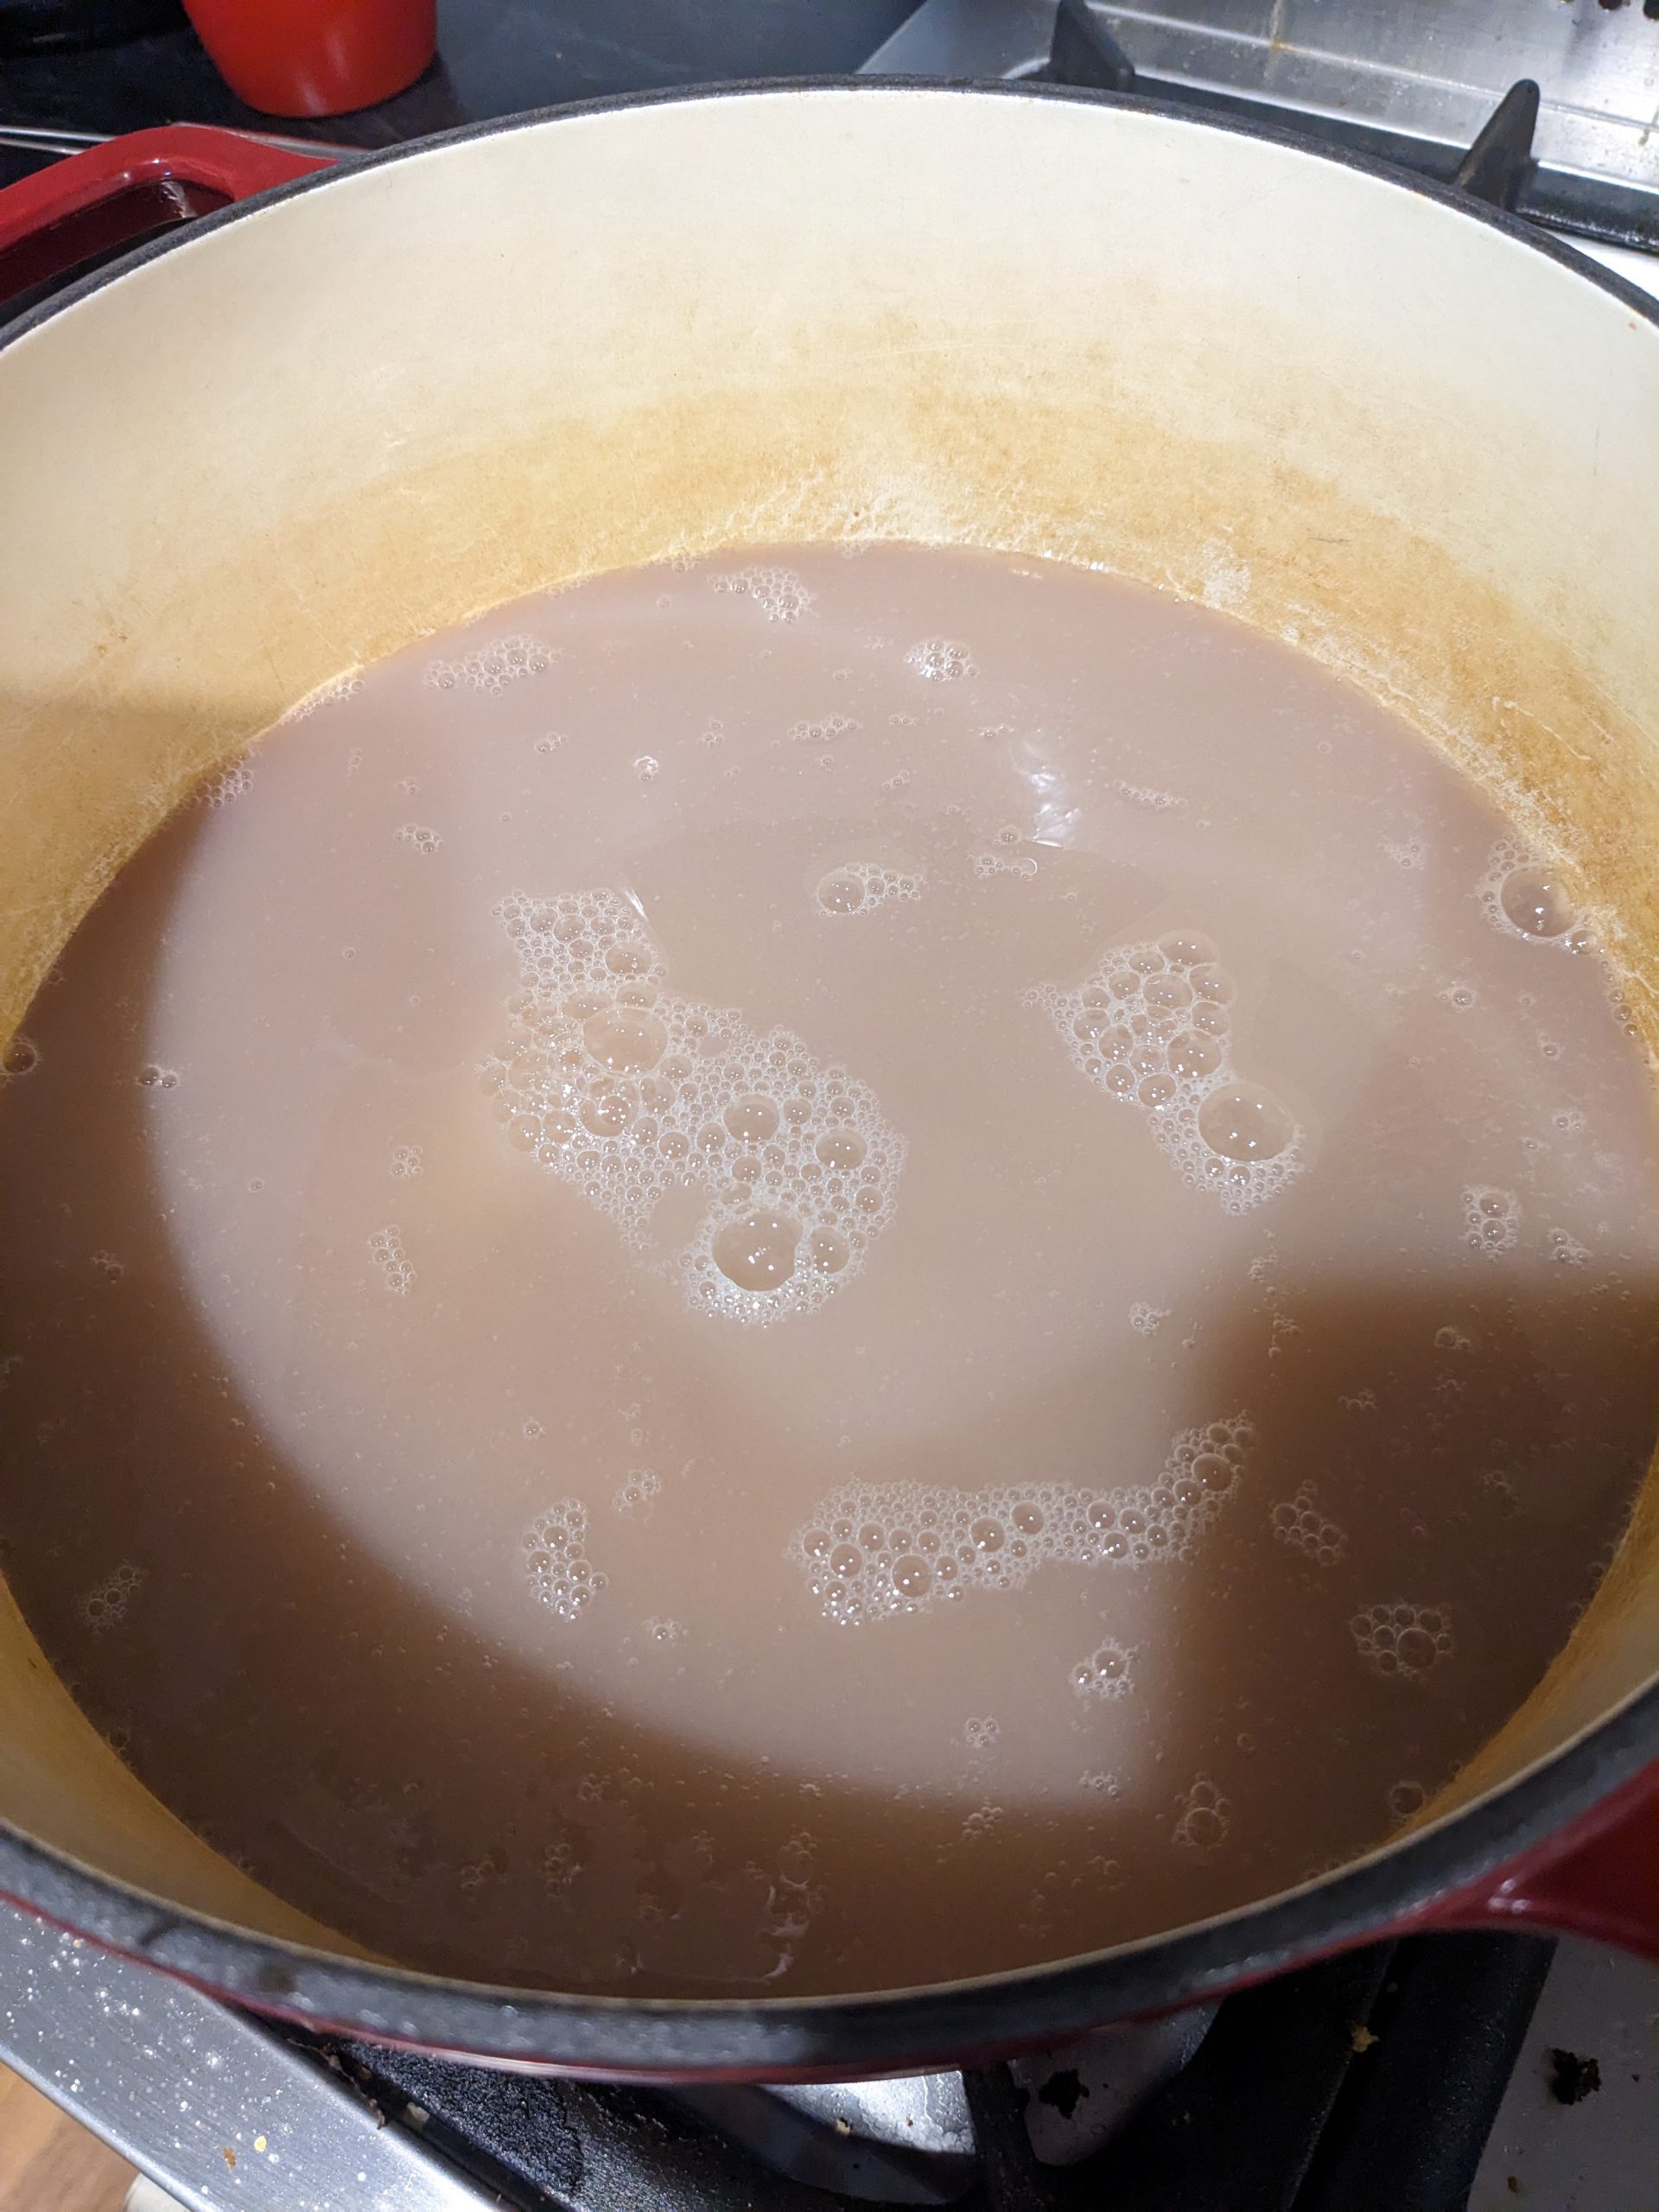
- Now, you can stir and poke around with the liquid as much as you like! Start with a medium to low cooking temperature. As the sugar melts in, it will become clear and golden, but strands of white “scum” will collect on top and around the sides, just skim this off and discard.
- Once the sugar has dissolved, increase the temperature to get to a good rolling boil. Be prepared to stay at the stove for a while; you can’t wander off and do something else at this stage! If using a thermometer, the goal is to get to 104 degrees centigrade and keep it there for around five minutes.
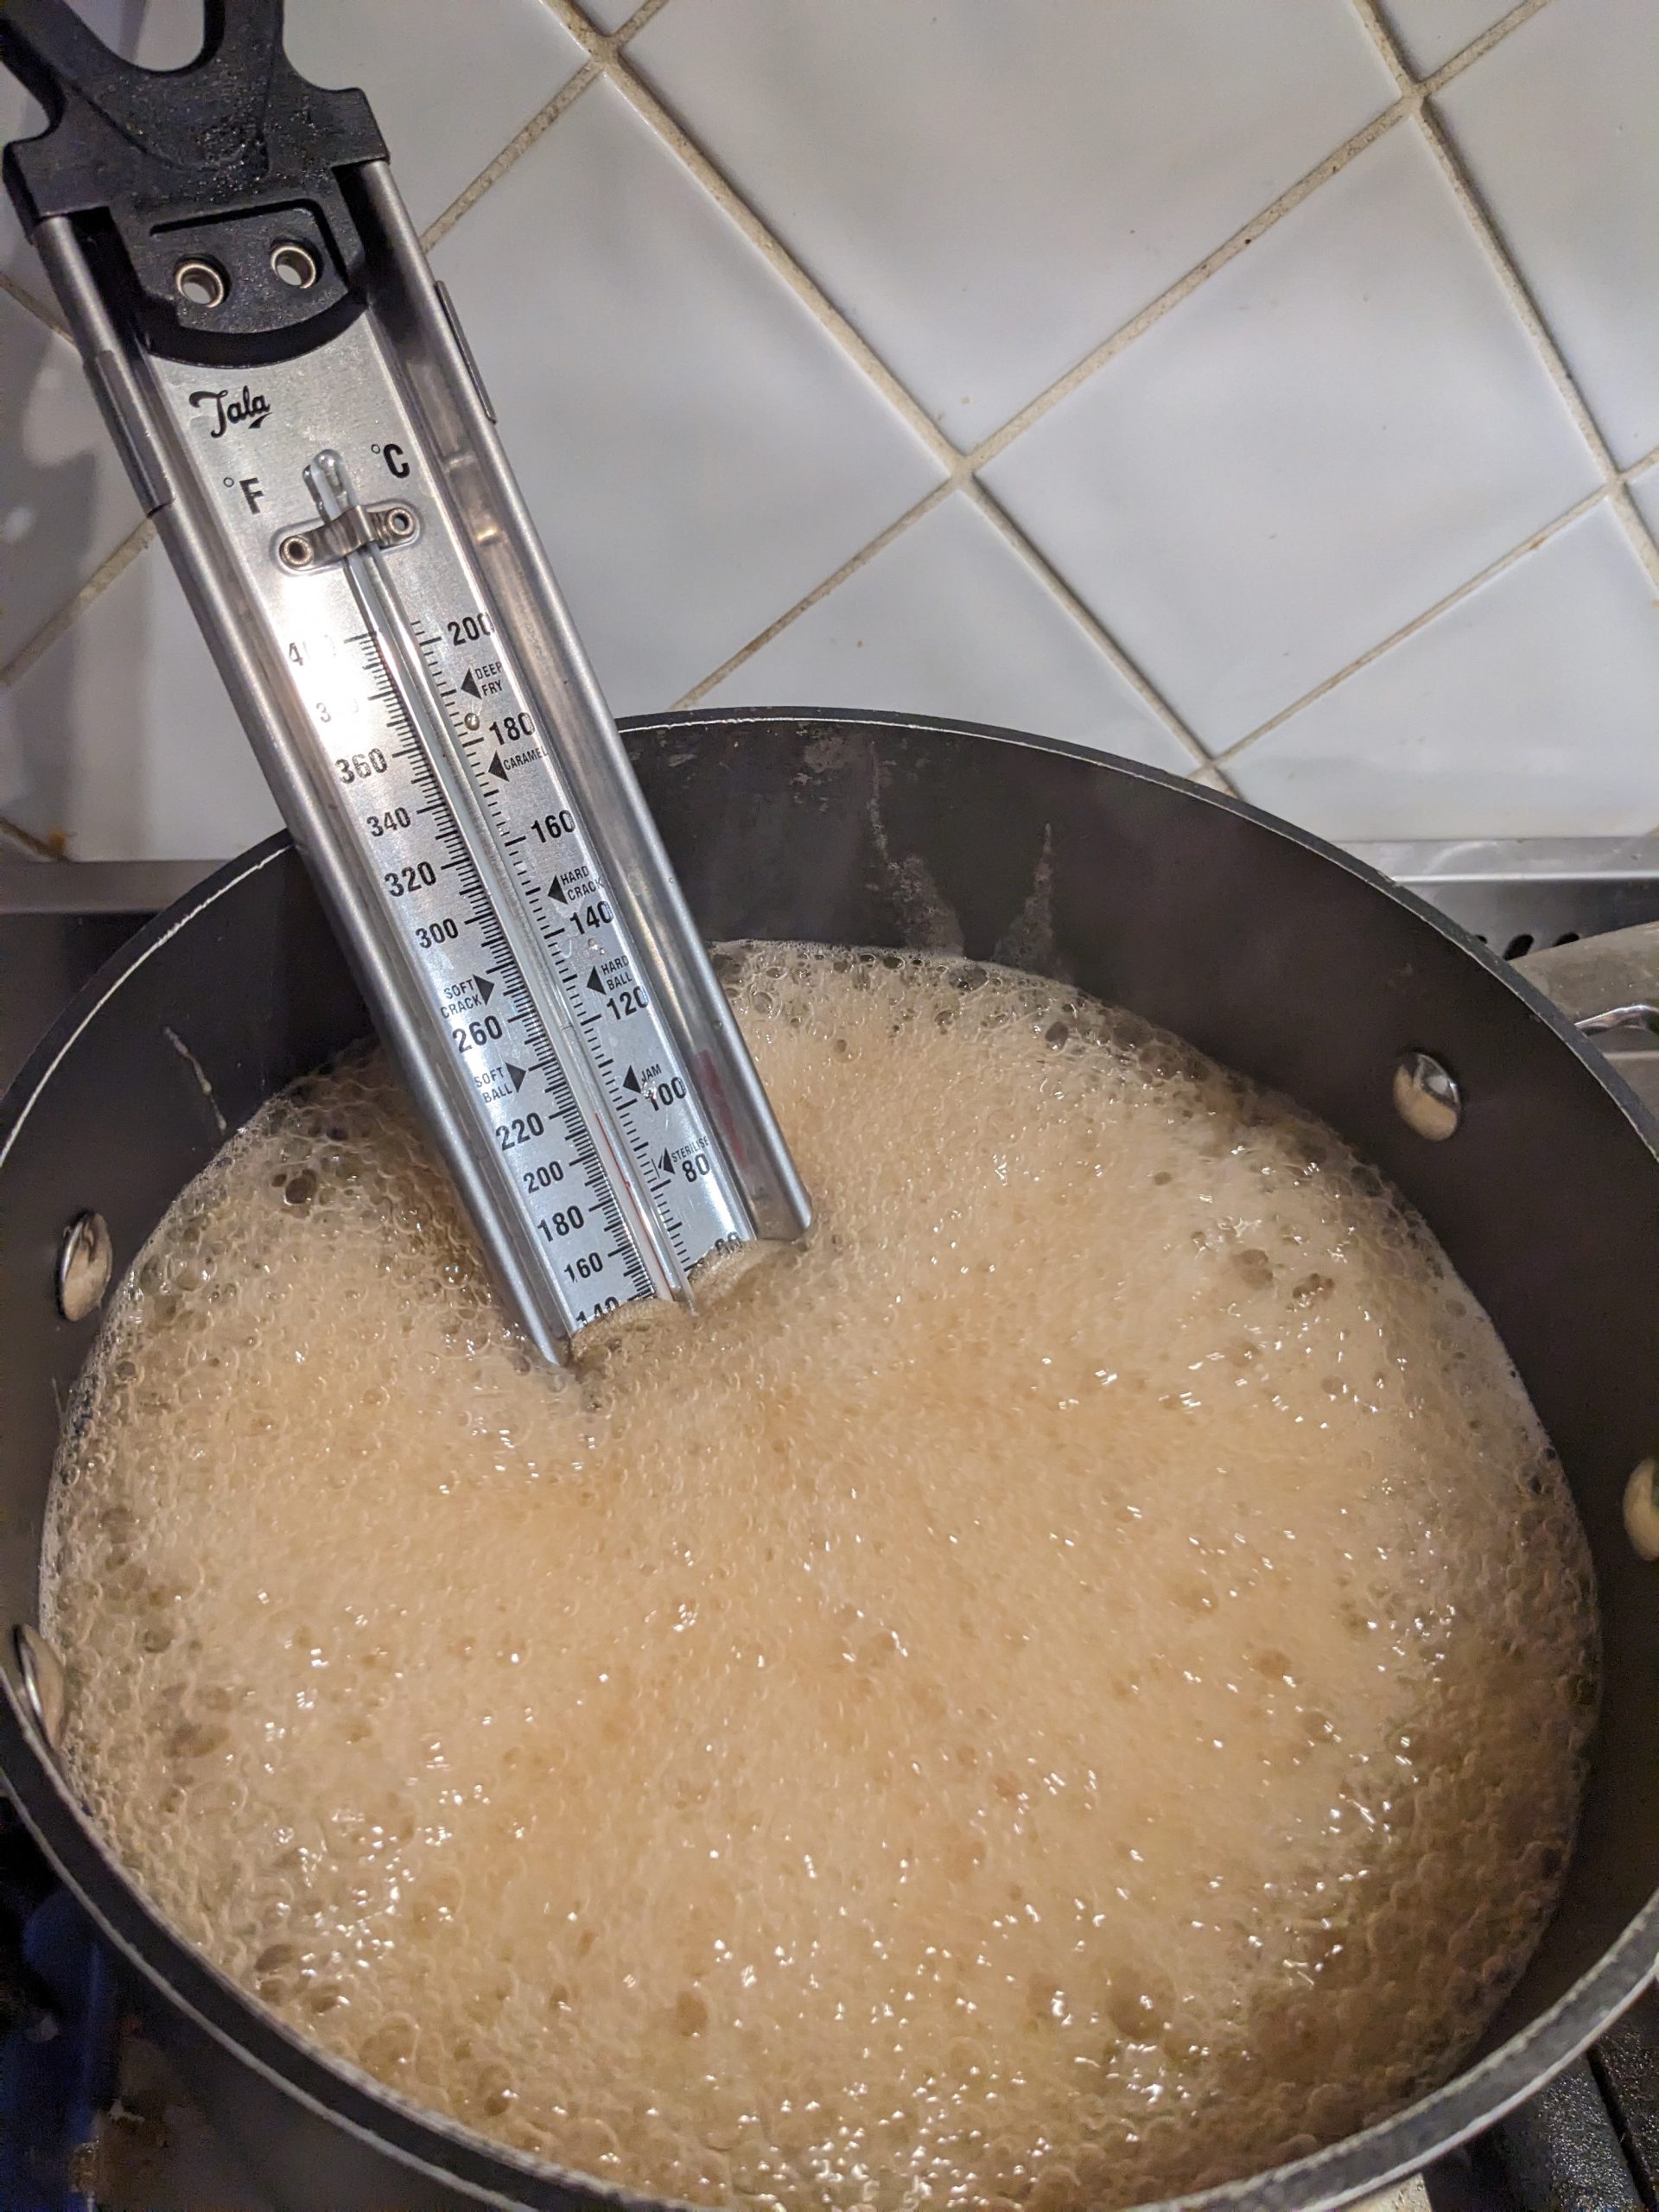
- We are looking for it to thicken and become a gel, watch how it drips from your stirring spoon – is it slowing down? also, look at how it collects on a clean cold saucer – is it staying in one spot or spreading out? This indicates the setting point.
- Again, keep skimming off any white strands/clumps before bottling.
Bottling the Feijoa Jelly
- Transfer your hot jars from the oven onto a wooden board, or if they are stable, keep them on a towel-lined tray. Remember, only add hot liquids to hot jars!
- When it has reached the setting point, transfer the Feijoa Jelly syrup to the clean hot jars filling right to the top. Use a clean teaspoon to remove any last bits of scum and unwanted bubbles before putting the lids on.
- Warm a ramekin in the oven or microwave, and pour in any last bits of syrup that don’t fill a jar – this is the serving you can enjoy and use straightaway! It will also reassure you as it sets that the Feijoa Jelly in the jars is the right consistency (peace of mind!)
- I like to invert the jars after a few minutes, leave them for about five minutes, and then invert again and allow to cool.
- Listen out for that very satisfying “pop” after an hour or so, as the jelly cools and the metal lids seal down.
- Note on the setting, if the “test” sample in the ramekin didn’t jellify, don’t stress! Tip all the jar contents back into a pot and boil it up some more. Just remember to rinse out and reheat the jars before rebottling and sealing.
Enjoy your homemade Feijoa Jelly
I really love Feijoa Jelly used in the same way as Quince Paste as part of a cheese board, or even better on a buttered Cheese Scone, heaven! It is a tricky flavour to describe, almost a passionfruit or lighter apricot, the look is also great – a golden gel that is hard to believe came from that muddy-looking (dishwater vibes!) liquid at the start.